How long does a ductless heat pump installation take?
The timeline depends on your home and system size, but most installations are completed over a few days. Unlike companies that advertise “one-day installs,” we take extra steps that extend your system’s lifespan—like warming up the outdoor unit for at least 12 hours and pressurizing the system overnight to check for leaks. These best practices help ensure your heat pump performs at its peak for decades.
 What happens during the installation process? What happens during the installation process?
We break the installation into three clear phases:
Phase One: Equipment Installation
• Our crew arrives with all necessary equipment.
• Indoor and outdoor units are placed, and refrigerant lines are run through protective line hides.
• A 3-inch hole is drilled for copper lines, drain lines, and communication wiring, then sealed to keep out the elements.
• This step usually takes 4–8 hours, though complex projects may take longer.

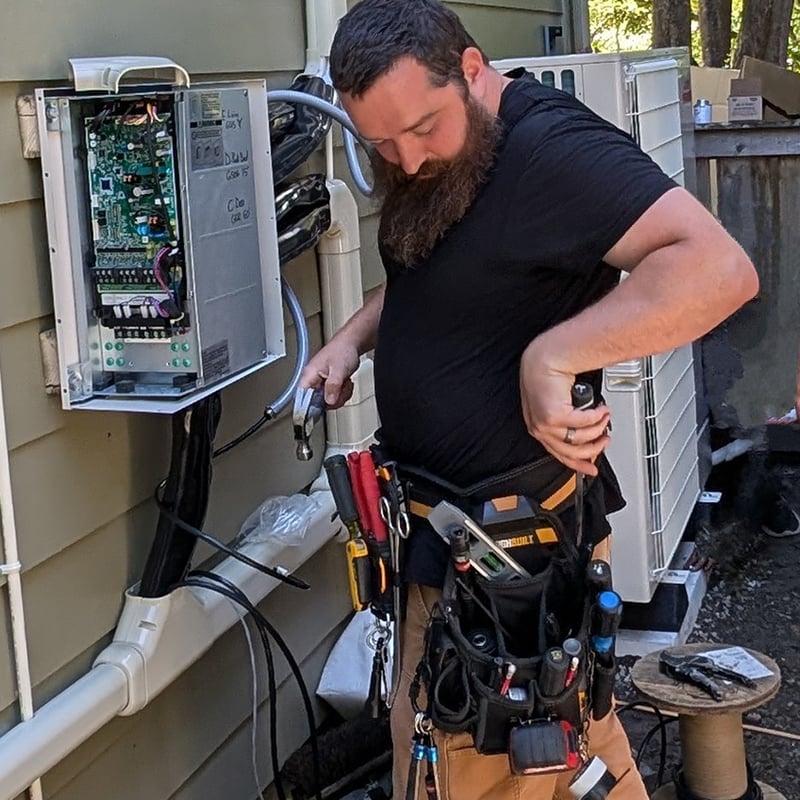
Phase Two: Electrical Work
• Our in-house licensed electricians connect your system.
• A 240-volt circuit is installed from your home’s panel to the outdoor unit.
• A communication line links the indoor and outdoor units.
• A 120-volt circuit may also be added if needed.
• This phase typically takes 4–8 hours, though panel upgrades may extend the timeline.
Because we’re also licensed electricians, you can count on our team for professional electrical work during your installation or if you need additional work like a panel upgrade.
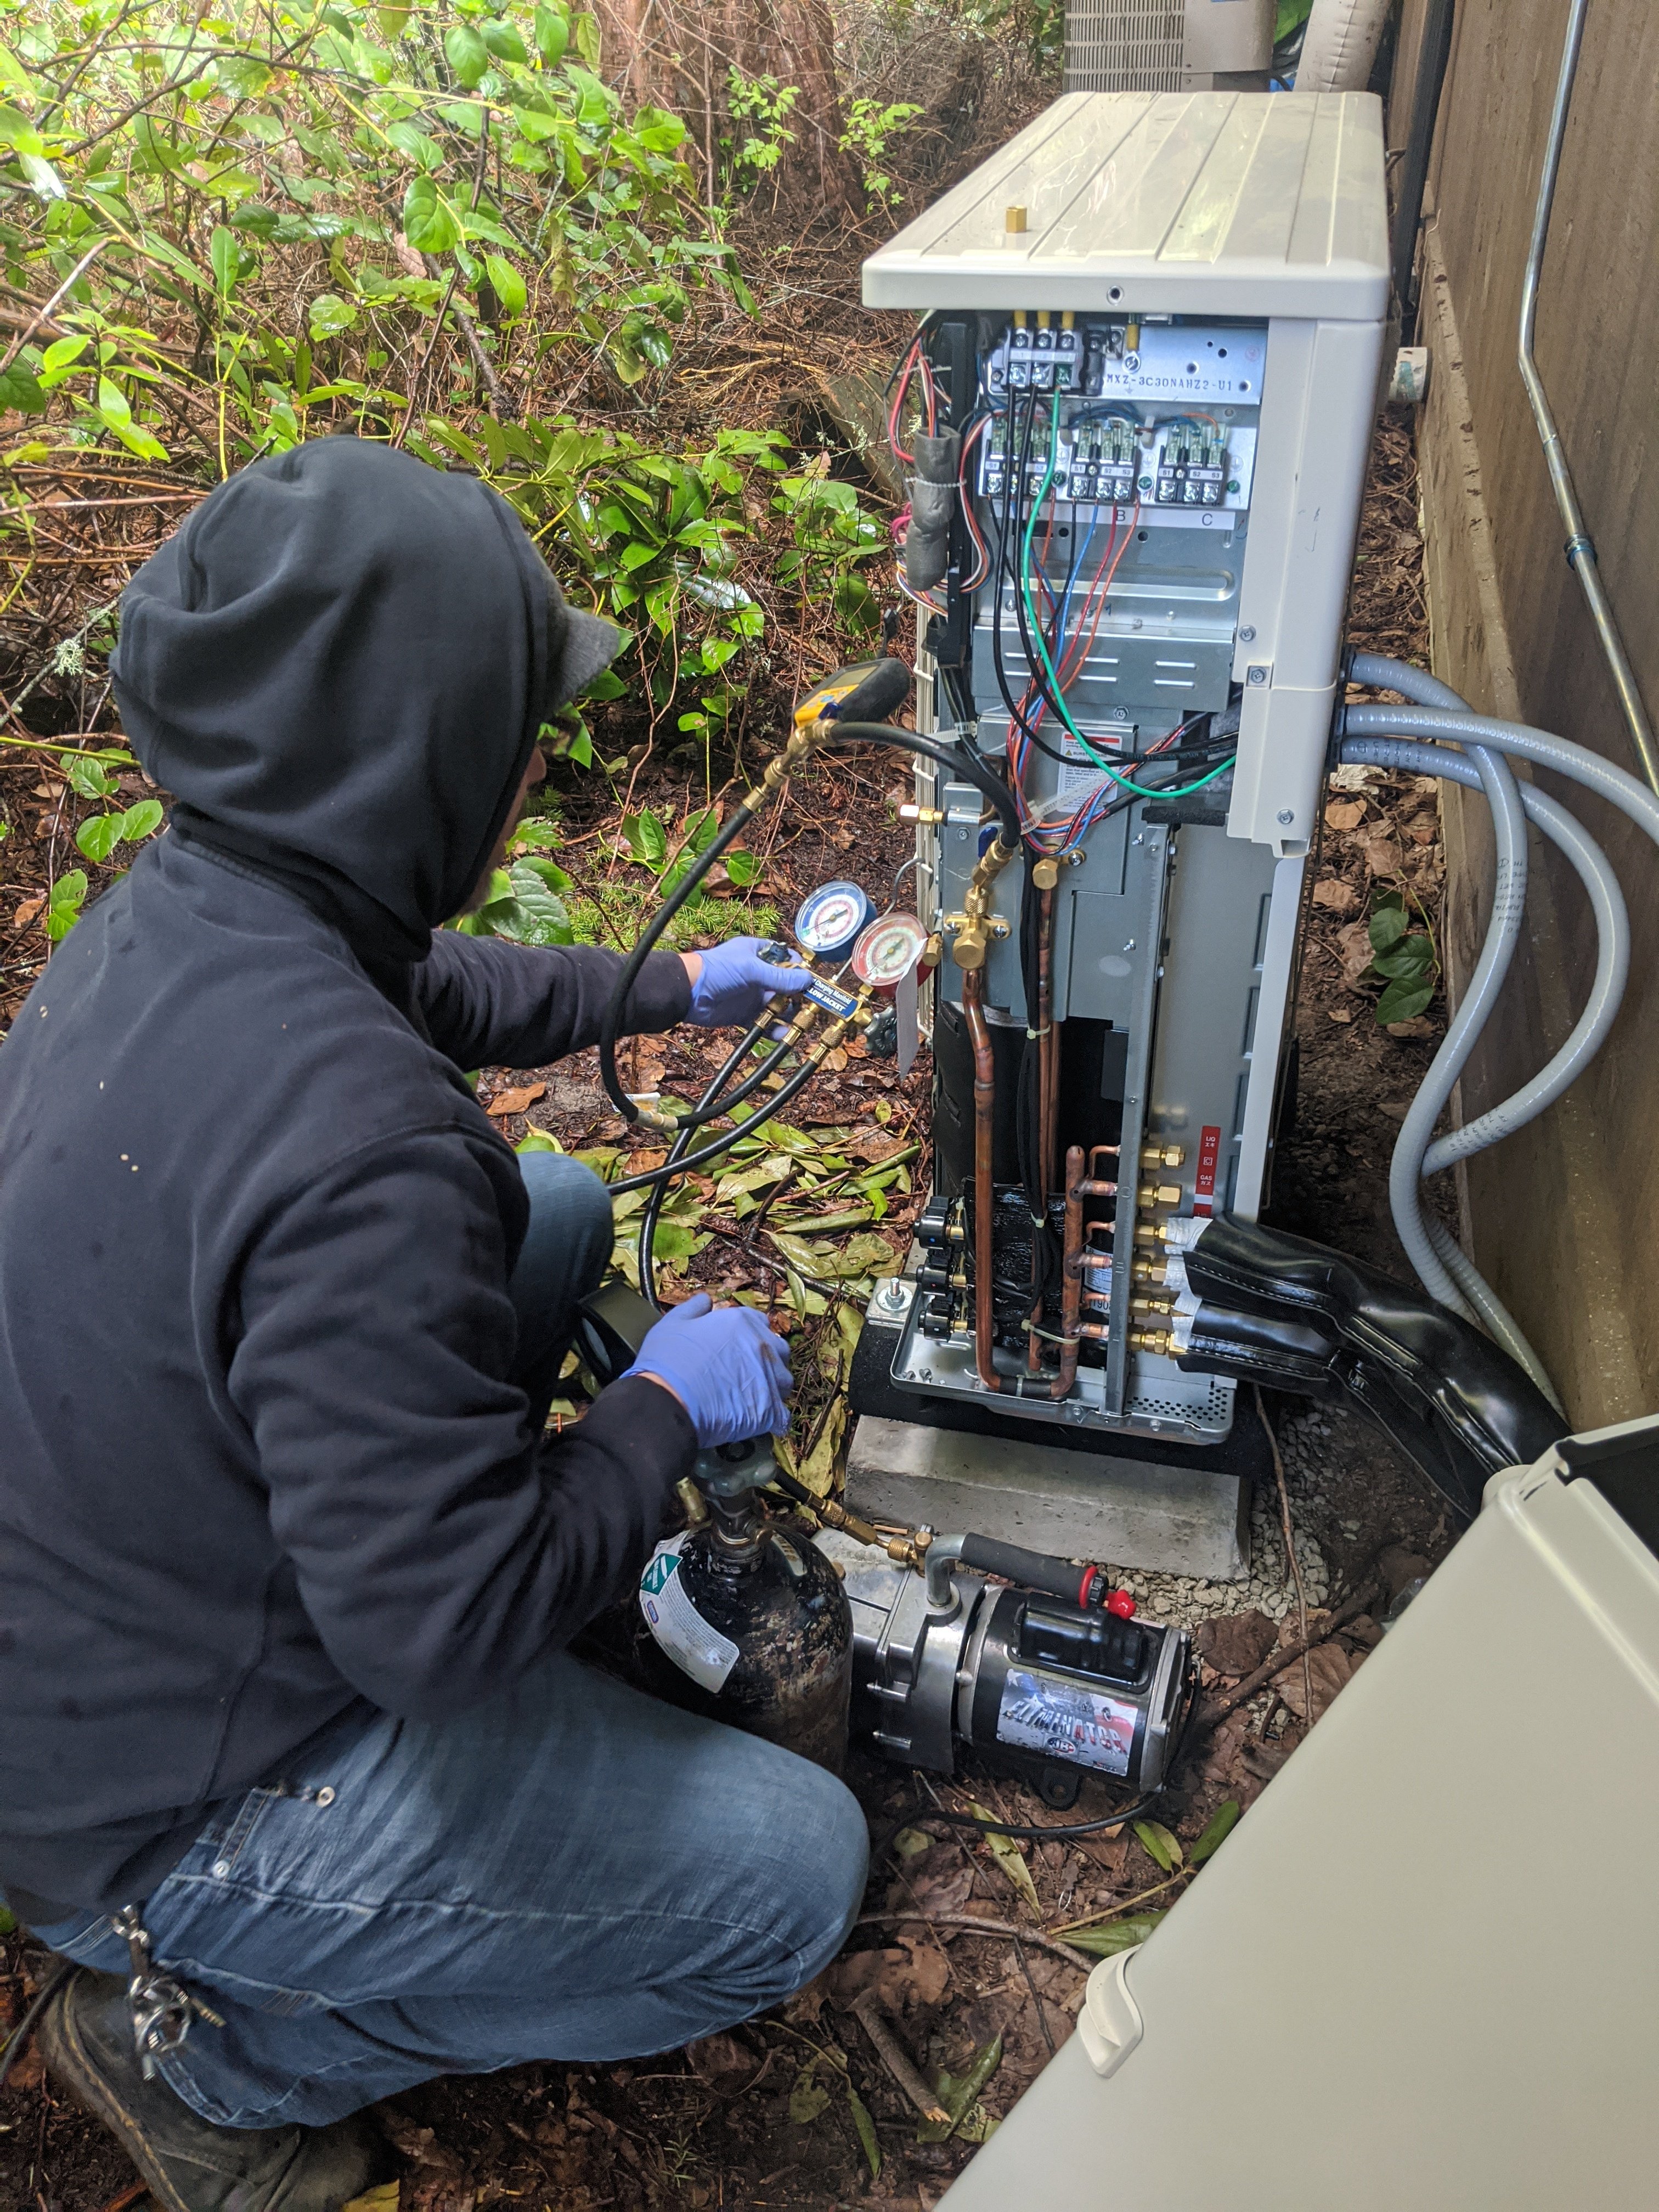
Phase Three: System Startup and Instruction
• We perform a vacuum pump-down to remove all air and moisture, protecting your system’s efficiency.
• The refrigerant is released and your system is turned on.
• Our team provides a 15–30 minute walkthrough and training so you feel confident using your new heat pump.
• Add-ons like smart thermostats are also set up during this visit.
Do I need to be home during the installation?
We recommend being home during Phase One so you can answer any placement questions and during phase three for training. Many clients also like to be present during the electrical phase to give input on where electrical lines will run.
 Why does Island Ductless take longer than other installers? Why does Island Ductless take longer than other installers?
Shorter installations may cut corners, but we believe in doing the job right. By giving your system the proper warm-up, pressure checks, and clean startup, we protect your investment and ensure your heat pump performs reliably for decades—not just the first few years.
What warranties come with my ductless heat pump installation?
As a Mitsubishi Elite Diamond Contractor, our installations qualify for a 12-year manufacturer parts warranty. Island Ductless provides a standard 2-year labor warranty and clients who take advantage of our Annual Maintenance Membership option, have their labor warranty extended to 7 years. Plus, every job comes with our 100% Lifetime Workmanship Guarantee—your peace of mind that the job was done right.
|
 Quick FAQs: Quick FAQs:
Ductless Heat Pump Installation
How long does installation take?
Most systems are installed over 2–3 days. Taking extra time protects your system for long-term performance.
What happens first?
Indoor and outdoor units are placed, refrigerant lines are run, and wall penetrations are sealed.
Do I need new electrical work?
Yes, a 240-volt circuit is added to power your system, plus communication lines between units.
When does the system get turned on?
After a vacuum pump-down removes air and moisture, refrigerant is added and your system is started.
Do I need to be home?
It’s best to be available for placement decisions and training.
What warranty comes with my installation?
As a Mitsubishi Elite Diamond Contractor, we provide a 12-year parts warranty, up to 7-year labor warranty, plus our 100% Lifetime Workmanship Guarantee.
.jpg?width=195&height=259&name=PXL_20240723_190924052%20(1).jpg)
The Ductless Heat Pump Homeowner’s Guide
Your step-by-step resource for choosing, designing, and installing the right system.
Choosing the Right Heat Pump System & Contractor (Start here — the complete guide)
What to Expect During the Proposal Process
What to Expect During Installation
What to Expect During Maintenance
|


.jpg?width=700&height=466&name=PXL_20240725_192248772-(1).jpg)
 In Closing A heat pump installation isn’t just about getting equipment up and running—it’s about ensuring your system delivers maximum comfort, efficiency, and longevity. At Island Ductless, our three-phase process sets us apart and protects your investment for the long haul.